Wednesday 4 August 2010

Soviet Steamroller

Setting: The Eastern Front Autumn 43.

Situation: Soviet forces attempt to secure a bridgehead.

Ruleset: Blitzkrieg Commander II

Game length: 12 Turns or until one side breaks.

Soviet Force


Objectives: Capture the village, 1 building held = 2VPs, 2 buildings = 5VPs. If any buildings have been taken at the game end, count any Germans on the eastern bank of the river as casualties. Inflicted more casualty pts than casualty pts taken, but not twice as many 1VP. Inflicted twice as many as taken 2VPs


Having moved forward during the night, the two infantry units may set up within 40cm of eastern edge of the board. Armoured units use mobile deployment from turn one.


CO (CV8)

HQ (CV7)
9 Inf (1 upgrade AT Rifle)
1 Maxim
1 Mortar (82mm)
1 Mortar (120mm)

HQ (CV7)
9 Inf (1 upgrade AT Rifle)
1 Maxim
1 Mortar (82mm)
1 SU-152

HQ (CV7)
3 T34/76
3 Inf SMG Troops

HQ (CV7)
3 KV1s
3 Inf SMG Troops

Art 2 x 152mm ( 2 scheduled Assets each )

Breakpoint 19 (3015 pts)

German Troops


Objectives: Soviets hold no buildings in the village 5VPs, if they hold 1 then 3VPs, if they hold 2 or more no VPs. Inflicted more casualty pts than casualty pts taken, but not twice as many 1VP. Inflicted twice as many as taken 2VPs


Infantry must setup East of the river.


CO (CV10)
4 Inf (1 upgrade panzerfaust)
1 MG 42
1 Mortar (81mm)
1 Pak 40 (with truck tow)

HQ (CV9)
5 Inf (3 upgrade panzerfaust)
1 MG 42
1 Mortar (81mm)

5 x Trenches, 1 x Gun Pit

Delayed Reserves may enter from move 4 any road on western edge, use mobile deployment rule.

HQ (CV9)
3 Inf (1 upgrade panzerschreck)
3 Sdkfz 251/1
3 Stug-III, 75mm Long

Breakpoint 11 (2015 pts)
Move 1

Kv 1s on the right flank forge ahead, while on the left flank the T34s only get 1 manoeuvre.
Move 2

Pak 40 brews up the SU152

Panzerfaust teams attack the KVs

End of move 2
Move 3

T34s reach the bridge.KVs lose 1 tank for little impact on the enemy.
The entrenched German infantry are a lot tougher than I thought.
Move 4.
No progress for the Russian forces and German reserves turn up on time.

Germans occupy the village.

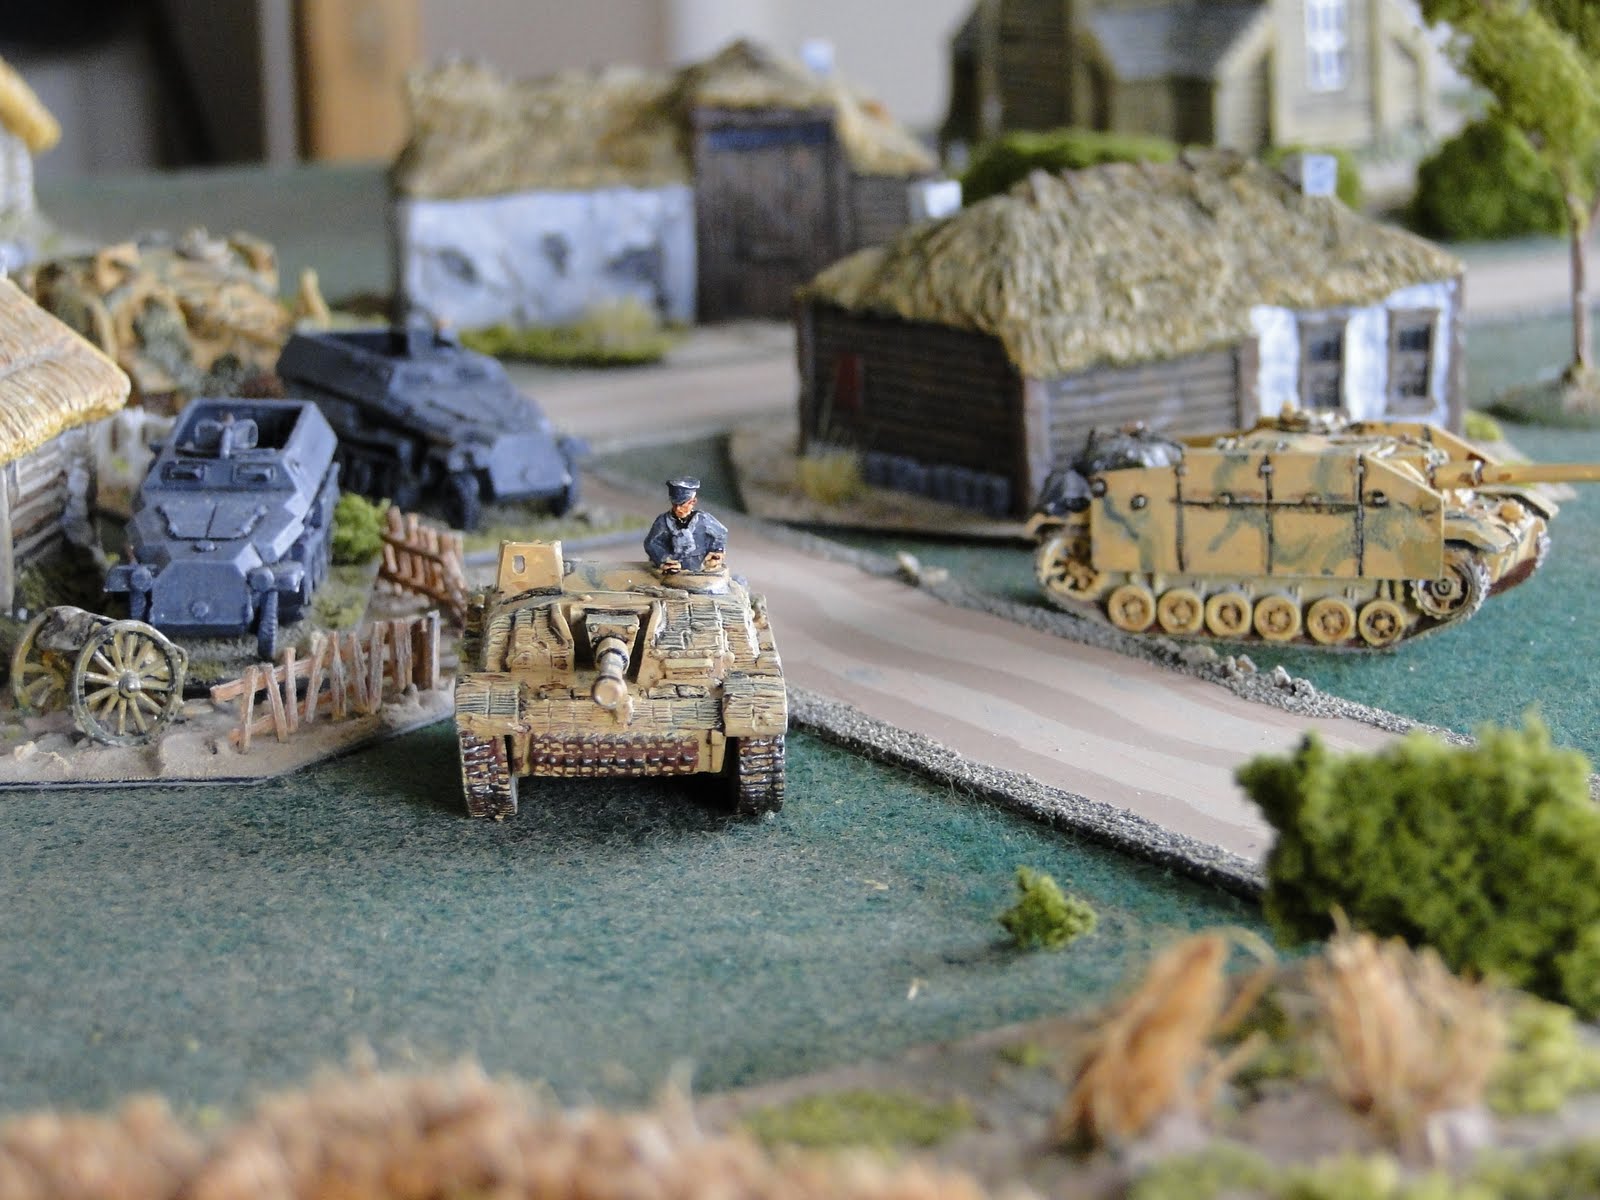
The Soviet CO demands all out attack.
Move 5 & 6

Each attempt on the left flank to cross the bridge is met with accurate pak 40 fire and a suppressed T34.

Tank riders are suppressed and killed then one more KV is knocked out.

By the end of move 7 the Russian infantry had cleared most of the German infantry on the left flank and the centre. On the right flank the KVs were down to one tank and no tank riders.

Moves 8 and 9 were a disaster for the Russians only succeeding with two manoeuvre checks.

With only 3 moves left to capture the village I conceded defeat to the Germans ( me also ).

Lessons learnt: Trenches are a bitch!

Saturday 24 July 2010

Triple helix wargames

Popped over to this game shop yesterday. It is in a unit on industrial estate. They have 15 games tables available, but I was there for the shop. They sell games workshop products and a good range of flames of war 15mm models. I met the owner who was very pleasant. If you are in their neck of the woods pop in and check them out.
I wish them well in their new venture. www.triplehelixwargames.co.uk
Tel 01373 855380

- Posted using BlogPress from my iPhone
Location:Westbury Wiltshire

Tuesday 13 July 2010

Breakout from the Meuse


This is my second game using Blitzkrieg Commander II. The scenario is set in May 1940, as there are not too many support units it is ideal for new players of the rules system.

FRENCH

CO (CV8)

HQ (CV8)
       12 Inf Units (Regulars)
       1 Support Unit (ATG, 37mm)
       2 Tank Unit (Somua S35)
       1 Tank Unit (Char B1 bis)
The French tanks have to be attached to the infantry and cannot act independantly.

GERMAN

CO (CV10)

FAO (CV8)

HQ (CV9)
       3 Panzer Units (Pz II)

( Commanded by the CO from above)
       2 Panzer Units (Pz III, 37mm)
       1 Panzer Unit (Pz II)

HQ (CV9)
       9 Infantry Units (Heer)
       1 Support Unit (ATG, 37mm, Pak-35/36)
       1 Support Unit (Mortar, 81mm)
       2 Trucks

ART Unit (150mm)

The mission for the Germans was to destroy the French armour or force them from the field.
Move 1: Seen from the German side.
The German plan was to push the infantry through the centre, while the Panzer Companies race down the flanks.
The Char B guarding the French right used its opportunity fire but failed to hit. The young veterans of the panzers wasted no time and opened up with all guns blazing, scoring enough hits to destroy the French tank. Move one and the toughest tank already knocked out! This was going to be too easy.
 
The French turn was pretty uneventful, they were still in shock from the loss of the Char B.

Move 2: Saw the German panzers push further on, the Panzer II Company on reaching the road were engaged by one of the Somua S35s, bad marksmanship meant it failed to score a hit ! The French weren't having any luck here. The Pz II succeeded with a third command roll and replied suppressing the Somua.


The French HQ despatched the other Somua to their right flank to cover for the lost Char B. This ended the move.

Move 3: Disaster, the Pz IIs about to finish off the Somua fail a command roll. To make up for this the infantry company have four successive command rolls they line the woods ready to advance on the central wheat field.
Move 4: The French finally have some good fortune, one Somua takes out a Pz III on their right and the other kills two Pz IIs on the left flank.

Move 5 and 6: The Germans regain their composure and redouble their efforts. The last PzIII kills one of the Somua S35s and the infantry advance on the wheat field engaging the French infantry.

Move 7: Germans falter, the infantry company have a command blunder and the CO fails his command roll, rolling 11. The French however fail to capitalise on the German inactivity, by failing their command rolls.

Move 8: The German infantry win the firefight with the French infantry, suppressing three of the four defenders. (dead markers show suppressed units in the picture below).
They waste no time in close assaulting the French.


They win the close assault killing three French units.


The last Somua crew however, skilfully pull back evading the shots from the German tankers.

The game ends thus:
German Losses, 1 Inf stand, 2 Pz IIs, 1 Pz III
French Losses, 3 Inf stands, 1 Char B, 1 Somua

A German tactical win but not a decisive one, as they didn't fulfil their objective.
You may have noticed the failure of the German Artillery, I forgot to move the FAO, lesson learnt.

This was a solo game, taking a couple of hours on Saturday afternoon and very enjoyable too.

Final positions
 The game was loosely based on the Flavion - Breakout from the Meuse scenario in the Skirmish Campaigns book, France 40 - the Ghost Division. As I don't have any painted Pz 38ts I used PzIIIs instead. The books are great for scenario ideas. As written, the actions are scaled down and aimed at the skirmish level. However they are easily scaled up to company or battalion level.


Sunday 4 July 2010

The French Tank Museum

Last month I visited the National Tank Museum of France. Located in the town of Saumur on the Loire ( wine growing region ! kill two birds with one stone ). Their website is www.museedesblindes.fr


I should have taken some exterior photos of the museum, I will get the hang of this eventually.
Each vehicle has a board with information in French, English and German. The layout is similar to Bovington Tank Museum, in that the halls run in chronological order from WW1 through to the present.


The museum houses plenty of French tanks ( to be expected really ) but also a good selection of other major nations. They have an impressive collection of German tanks and boast the only running Tiger II in the world.


They also have on display several anti tank guns and artillery pieces.


They have a shop on site which is well stocked with model kits, but no cafe. If you find yourself near Saumur it is well worth a visit.


The WWII German hall.

Wednesday 2 June 2010

First Game Using Blitzkrieg Commander II

My first game using these newly acquired rules was a simple affair, set in September 1941.

A German battle-group has been despatched to seize a village controlling a rail line.

The Russians have scraped together an infantry battalion with some anti tank guns in support, they have dug in on the outskirts of the village and along the rail line.

The board seen from the Russian side.

Russians

    CO (cv8)
           1 mortar 120mm
           2 ATG 45mm

    HQ (cv8)
           9 Infantry
           2 MG Maxims

Break point 8  (845 pts of 1000 )


Germans

   CO (cv10)
          2 support MG 34 in motorcycles
          1 support IG 75mm towed by truck
          1 Recce A/C 222

   HQ (cv9)
          9 Infantry Motorcycles

   HQ (cv9)
          1 Pz III, 37mm
          2 Pz II

    FAO (cv8)
          1 Art Unit, 105mm le FH-18

Break point 7 (1495 pts of 1500)

I didn't make any notes during the game, or take any photos ( only got my new camera yesterday ).
The following pics show the end of the game. A minor German victory, having taken 6 casualties, 1 off their breakpoint.


Ivan holding off the german armour with only Maxims and grim determination. (appalling German command rolls helped ).


German infantry have taken the Russian trenches and move into the village.

A close run game which could have gone either way.

The rules worked really well, no bookkeeping and after a couple of moves very little referring to the rule book. The Battlegroups utility on the website is excellent for producing a custom made play sheet covering all the stats for your battle group.


Friday 7 May 2010

Just testing out the mobile blog!


- Posted using BlogPress from my iPhone

Saint-Nazaire Submarine Pens


A couple if weeks back while on holiday in France, I persuaded the wife that a visit to the World War 2 German submarine pens at Saint-Nazaire would be a great day out ( for me anyhow).
It is also the site of the famous Saint-Nazaire raid by the British to put out of action one of the only atlantic dry docks capable of servicing the largest of the German battleships.


The view from inside one of the pens, the entrance would originally have had doors.

This panoramic view is taken from the top of the entrance to the basin.