Tuesday 15 December 2020


Another
solo game, Combat Patrol. I used the layout earlier in the week to play another game but thought rather than pack it up I would give Combat Patrol a run out. I hadn't played Combat Patrol for a few months but it came straight back to me ( it is such a simple game to get the hang of, its all on the cards ! ). Anyway pictures are at turn 3, The Germans have to take the village and clear the Russians in preparation for an advance by the rest of the company.
The Germans have a full platoon, the Russians just two sections. From turn three I add a blank card to the turn sequence deck, when that card appears the Russians dice for reinforcements. The Germans need to act quickly before the Soviets build up. The Germans do have the advantage of two extra blue cards in the turn sequence deck that only they can activate on.
Turns 1 and 2 see the Germans advancing with section one and two moving into good fire positions while section three moves to outflank the Ruskies. First blood goes to the Russians when they open fire at long range and cause a casualty on section 1.
However by turn three the two German sections are in place and engage the Russian second squad in the wood, killing two and wounding three. The Russian second squad gets pinned and can now only activate on black cards until it activates on a black six. This squad will need to pull back into the wood asap or risk being wiped out.
Look out for Turns 4 - 6 coming soon


 Turns 4 and 5 see the Russian first section falling back into the woods but not before one rifleman returns to take one more shot at Jerry ( morale check effect ). The Russians get support from a T26 which moves steadily up the road, just in time to see the German section leaving the wood to chase after the Russian first section.

Section three of the Germans fire fight with the Russians in the village, killing three and driving them out suffering only two wounds in return. But as the Russians leave the hut they cheer as the T26 rumbles into view.
What will happen in turn 6 and 7 as the Germans have no anti-tank weapons !
( From turn 4 onwards when the random event card comes up I check for reinforcements. I roll two dice and have to roll 3 or less on each die. 1 pass = possible reinforcements if none have arrived already, 2 passes = definite reinforcement, a double = roll on the armour table. The Russians rolled double 1 Uraaah ! ).

Friday 13 February 2015

Ambush

In this small scenario US marines have been warned that the insurgents are sending a column to attack the small force that has landed. A squad in the vanguard have set up in ambush. 

The insurgents start off with two pick ups on the table. Reinforcements arrive from turn three, one element per turn diced for randomly.

Their force consisted of 5 groups of 6 men, 5 armed with AK47s and one RPG or RPK.
And a recently liberated government T55!

Click pictures to enlarge, not that good I used my I Phone.

 Ambushers are in place. Three fire teams of four plus leader and medic.
 Fire team 3 in the rocks.
 A view down the table.


 The ambush is sprung, destroying the first pick up. The occupants faired quite well.
 The following pick up screeched to a halt the insurgents leaping from their transport and exchanging fire with the marines.
 Over the next couple of moves the marines fire team 2 suffer one wounded.
 More insurgents arrive.


 The sheep keep on grazing.
 OMG they brought along a tank.

 Fire from the inexperienced crew wasn't very effective.
The marines move fire team 2 to safety while team 3 inflict casualties on the insurgents around the pick ups. Fire team one move engage the insurgent reinforcements.

The game played out with the marine firepower whittling down the insurgents. The captured government T55 with untrained crew caused little damage. The marines won the day, slipping off the table after inflicting serious damage to the column.

This was a solo game played with the force on force rule set. I particularly liked the fact that emphasis is placed on the quality of troops rather than the equipment. This was evident when the insurgents turned up with a T55, which with untrained crew was surprisingly ineffective.

Wednesday 4 February 2015

African Disorder

African Disorder

The Situation thus far

Rasherstan is a small north African state, it has one international airport which is just outside the Capital City of Freetown and one sea port suitable for ocean going vessels,  Port Gladstone.


Elections produced a pro Western government earlier this year. Unfortunately fanatical religious factions having lost power in the country have tried to destabilise the fledgling government.

Recently the Rasherstan Enterprise board with the help of British Techstar, the micro chip company, have, in the north of the country, discovered substantial deposits of Taconium a rare mineral used in the manufacture of low power super fast nano chips.


Last month Rasherstan’s more powerful neighbour, The Peoples Independent  State of Dali ( PISD ) invaded the country, siting the persecution of the religious groups ( most notably in the vicinity of the Taconium mine! ).

The President, Youcef Tapioca, has called on western Governments for military assistance to defend the democratically elected government.

The USS Morgan Freeman, in the area on goodwill visits, has landed a small force of US Marines. 

Tuesday 14 January 2014

Red Heroes

Just finished a game of  TFLs Chain of Command. The scenario was Red Heroes from Skirmish Campaigns Russia 41 - Into the Ukraine book. I was keen to see how well CoC played using an armour heavy scenario having previously only fielded one piece of armour.

Plus I wanted an excuse to put my Christmas presents, four Russian buildings from Total Battle Miniatures  into the action.

The German base force consists of 4 Pz IIs, 2 Pz  IIIs and an infantry squad, a variable attachment is diced for and they get an extra section. The Germans are well trained regulars T2 in skirmish campaigns, we give them 6 command dice in CoC.

The Soviet base force consists of 3 BT-7s ( I used BT-5s, little difference in most rule sets ), 2 BA-10s, 1 recon section and a platoon HQ, they also get to dice for an attachment and get a BT-7 with senior leader. The Russians are Green and T4 in skirmish campaigns, they get 5 command dice and rated Green in CoC.

I used scenario two: the Probe, from the Chain of Command rule book. The German objective is to exit a team or panzer off the Soviet board edge.

Click on any picture to enlarge. All figures 15mm.

Near Berestochko, Ukraine.
The Russians deploy an armoured car, near the barn.

 The Germans deploy a PzIII. ( Plastic Soldier Company )
 And an infantry section.
 The LMG team deploys into the field.
 An overview of the table, the Germans are at the far end and the Russians the near end.
 A closer shot of the village.
 The Germans deploy their second PzIII which is engaged by the BA-10 armoured car. It may only be an armoured car but its main gun packs a punch for 1941 !, but the panzer survives taking a point of shock.
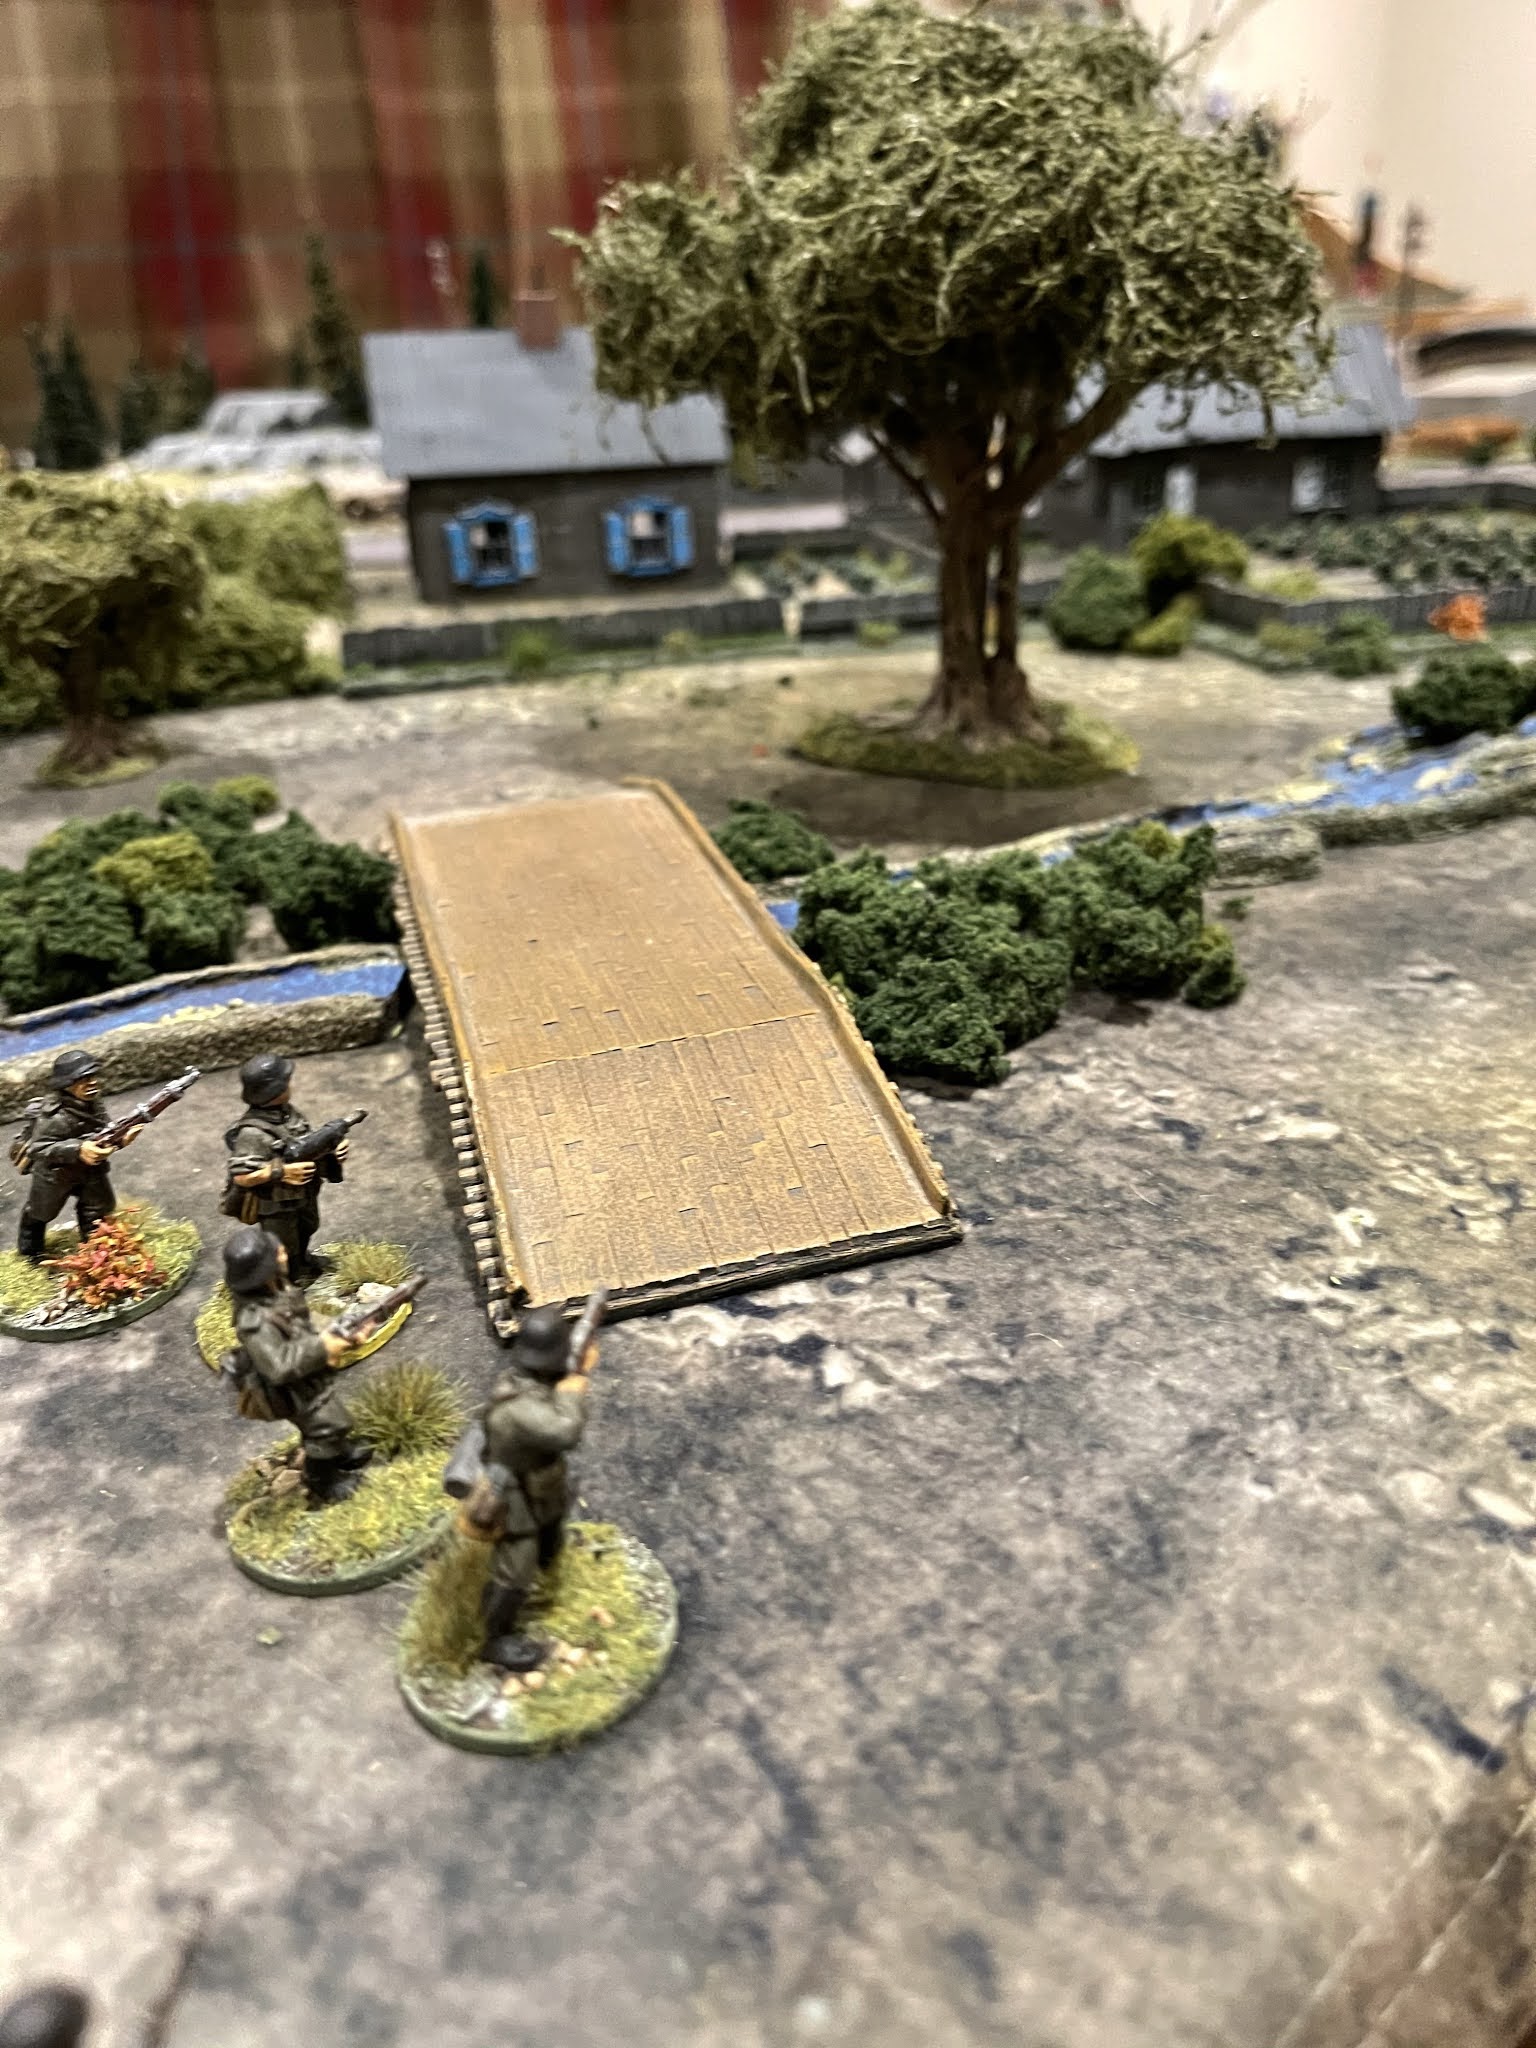
 The Russians deploy a section into the woods. The stream which runs diagonally across the board is crossable by infantry and tanks who have to test for bogging down.
 The view of the BA-10 commander. A straightforward shot, but the raised bridge between them makes this a slightly obscured shot. ( BA-10 from Zvezda )
 The exchange of fire comes to an abrupt end when the Panzer scores a decisive hit. ( the Russains should have only thrown three defensive dice but it didn't make any difference. ).

 Another tank enters the fray ( PzII from Plastic Soldier Company ).
 The Russian second armoured car deploys. One advantage wheeled vehicles have when being deployed is they can move in the phase they are deployed. Other units cannot move in the phase in which they deploy.
 The Germans start to move into the village ( tactical reduces their speed but they make use of cover ).

 The Russian player deploys a BT ( Zvezda BT-5 )
 The Russian player has now covered each side of the road.


 The German tanks move toward the village.
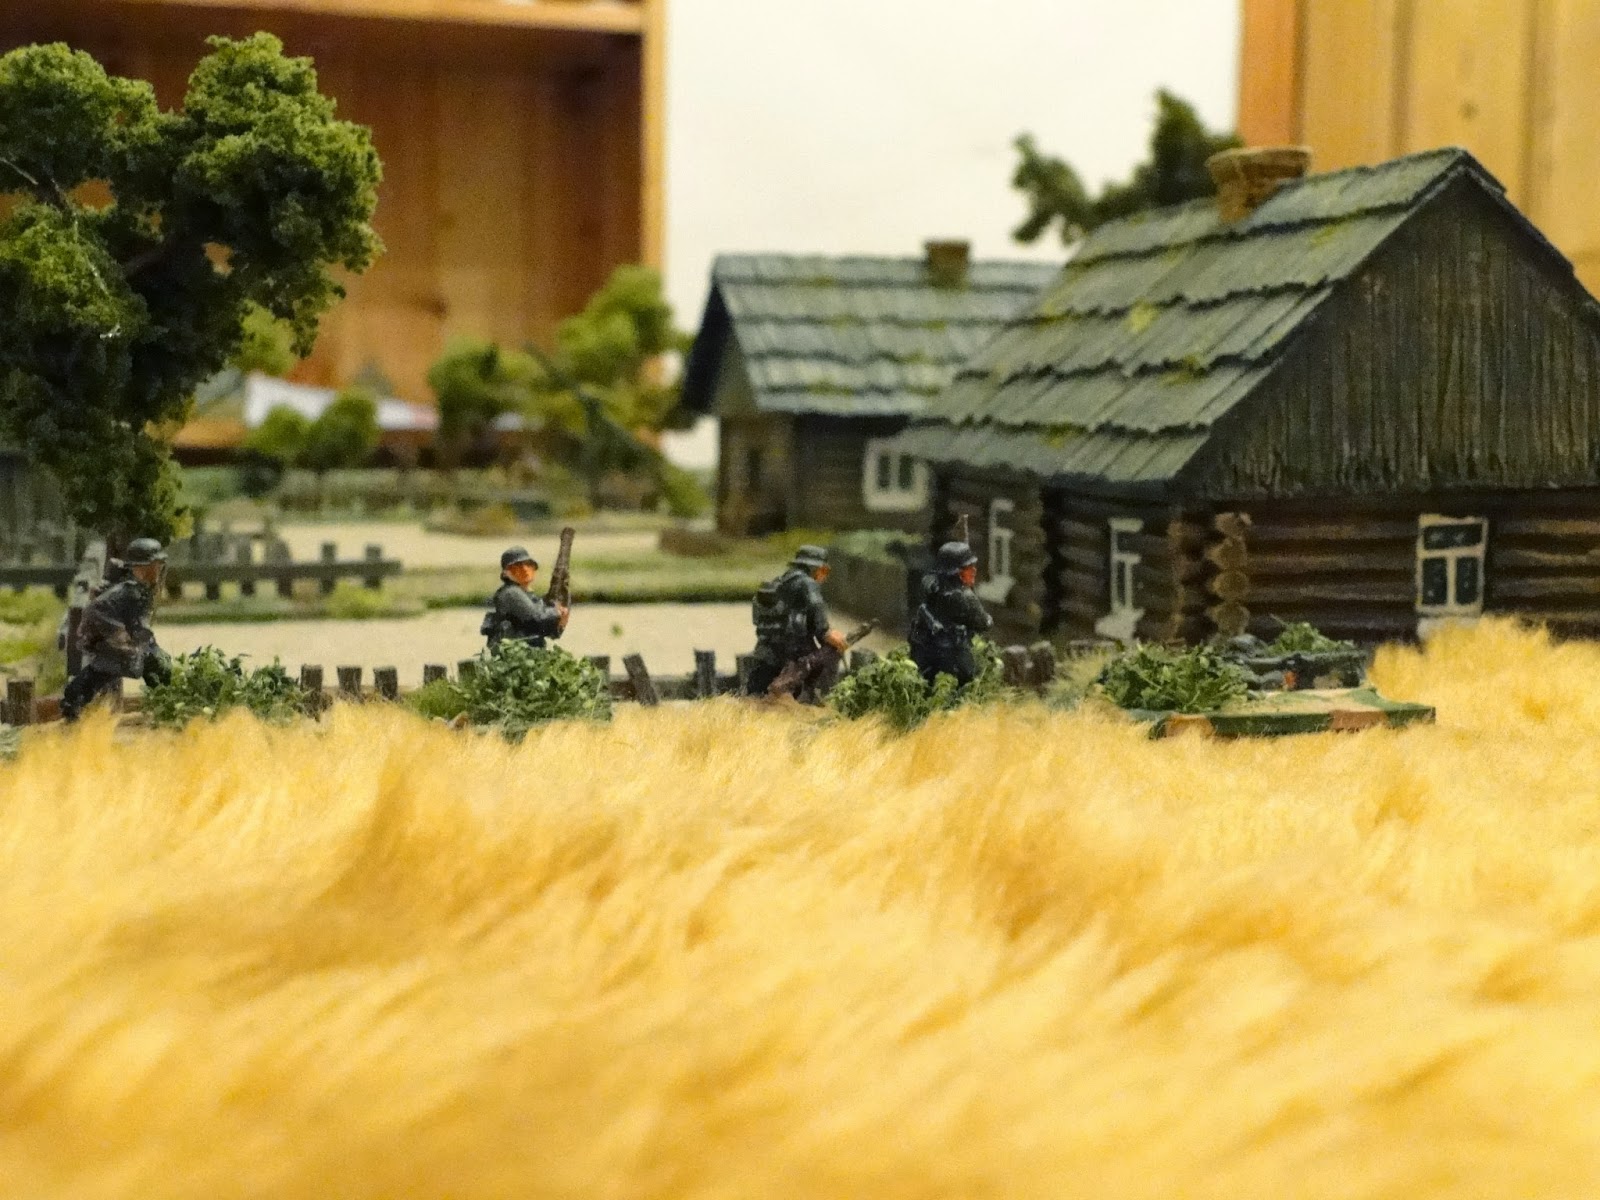
 German infantry clearing the village.
 German tanks push further into the village.


 The Germans are confident the village is safe from the Ivans.


 The Russians have been holing back their PTRD (  anti tank rifle ) teams.


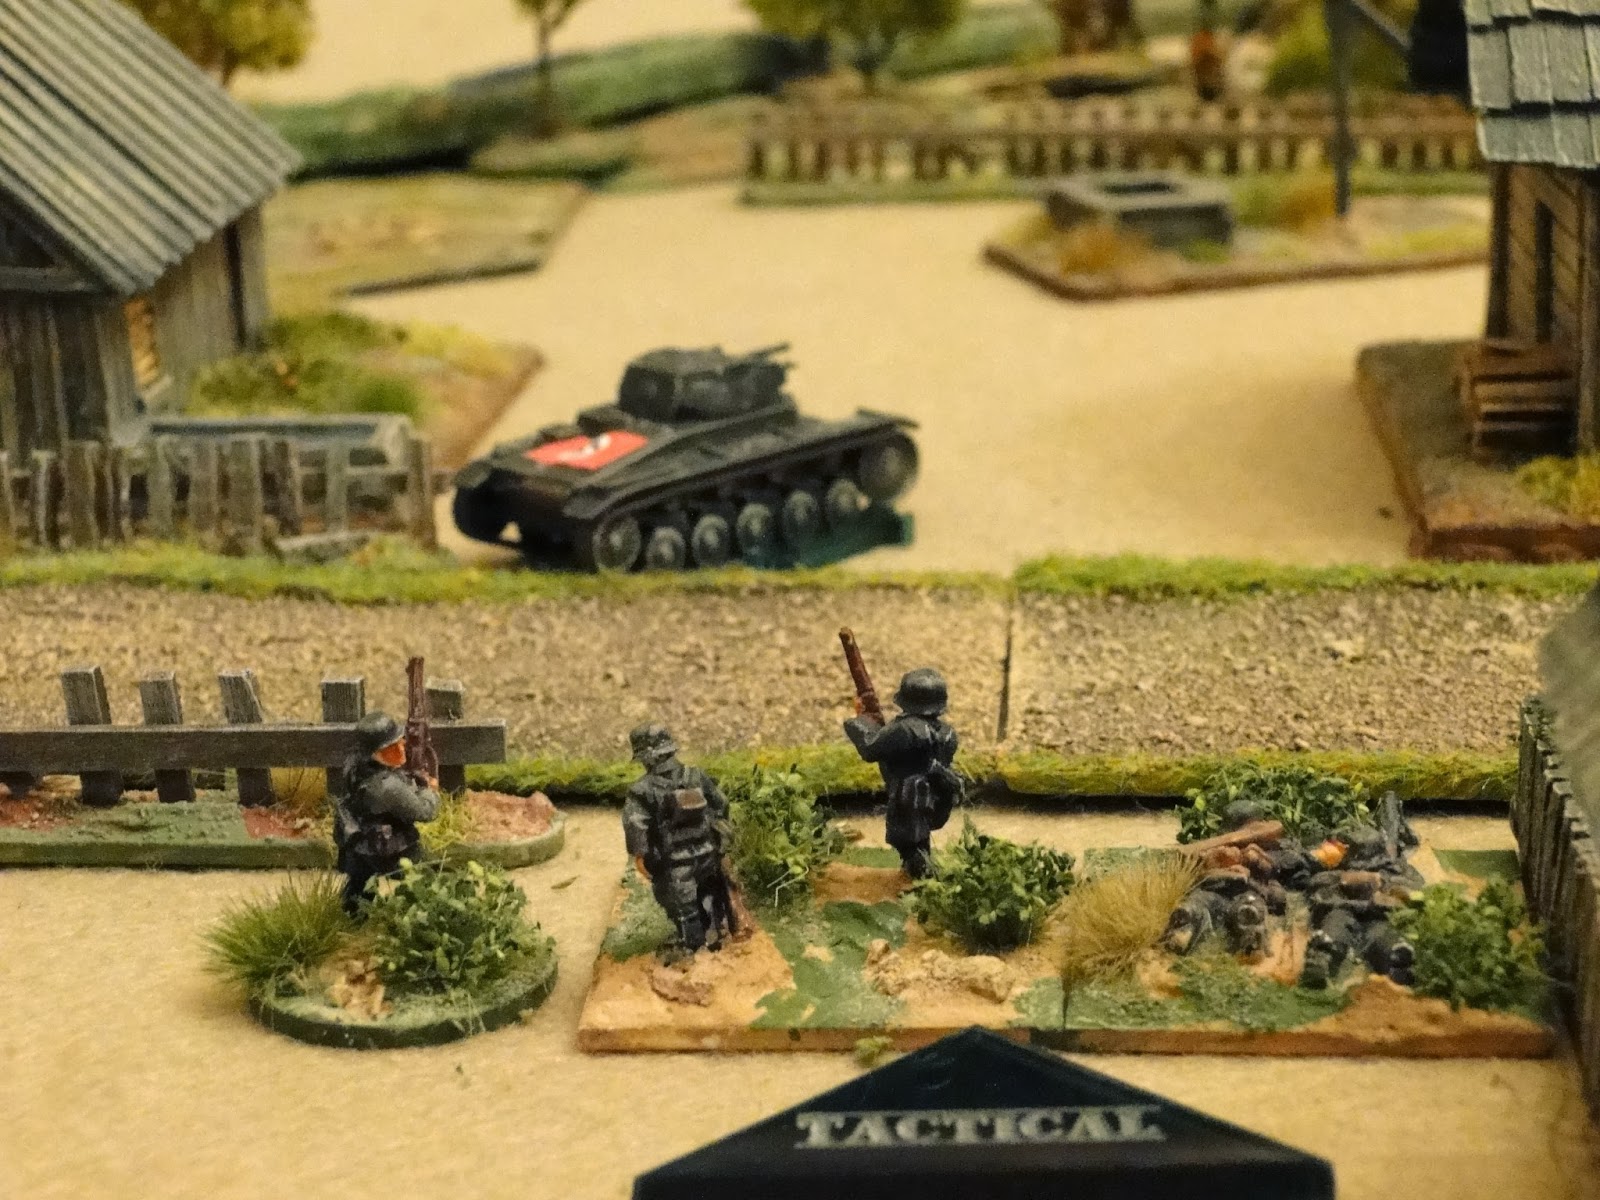
 From the cover of the woods they take pot shots at the panzer.
 The PZ II takes a point of shock and some engine damage.
 The Pz III has pushed further forward ahead of the supporting infantry. ( not a wise move, the Russians are sitting on a Chain of Command dice. This gives them the option of an ambush move. )
 Russian armour on guard.
 Another section is pushed into the village to protect the armour.
 No surprise here ! A Russian ambush, another PTRD team pops up to the rear of the Pz III.

 Luck is on the German side, two points of shock and it is forced to retire.
 Things are not  going well for Ivan, the Pz II with its 20mm gun has killed two and routed the survivor of one of the PTRD teams.


 Both PTRD teams are now in rout.  One of the drawbacks of small teams on their own, Russian morale is about to suffer.
 German firepower is starting to come to bear.


 The soviet section is being whittled away.
 The last armoured car loses the duel with the Pz III.


 The inside of one of the buildings.


 The Russian morale is not looking good.
 The section in the wood finally breaks and the Russians concede defeat.

 The next two pictures are out of sequence and should be at the beginning?
 Russian green section deploying into the woods. By remaining tactical they lasted most of the game even  under fire.

A German victory.

The Germans lost 3 men and two engine damaged panzers.

The Russians lost 2 PTRD teams and a section of infantry plus two BA-10 armoured cars.

I played this scenario again, the outcome couldn't be more different with a Russian victory. 

It takes a little getting used to playing with armour rather than infantry but the rules work well. The armour still doesn't dominate as you can't activate everything in one phase. Infantry can still get the drop on you especially with the use of an ambush. 

I can't wait for the official 1941 stats to be released ( 1939 & 1940 stats are available free on the Lard Island blog ).