Monday, 30 September 2013

Skirmish Campaigns and Chain of Command

There have been quite a few posts on various forums asking if the Skirmish Campaigns series are suitable for use with the Chain of Command rules by toofatlardies ( from now on referred to as CoC ).

In my opinion they are just about perfect, so I am going to post an AAR or two, or three, of games played.

This first one is taken from the Normandy 44-Red Devils of the Orne book.

Mesnil First Contact is the first scenario of a three game mini campaign. All three scenarios use the same board, so maximum playability there. For those unfamiliar with the Skirmish Campaign series each force starts with a base force and dices for additional attachments. The dice can be adjusted using credits gained from the outcome of the previous game ( first game no adjustments ).

The date and time: 8th June 44, 0545 hours.

The German orders are to observe the British positions from at least two observation points ( these observation positions are marked on the map ).
The British orders are to prevent the German victory whilst losing less than eight KIA or WIA.

This first game is quite small for CoC, the Germans begin with a Lt. & Sgt. plus one section and two recon teams one of which is motorised with a Hortch Car. The recon teams are not the two man teams as in the basic CoC rule book but are in fact half sections. On dicing for the variable attachments we did not get any additional forces but Iron Cross Leadership, this I interpreted as ignore the first wound or kill on the Lt. or Sgt.

The German force less the Hortch Car.

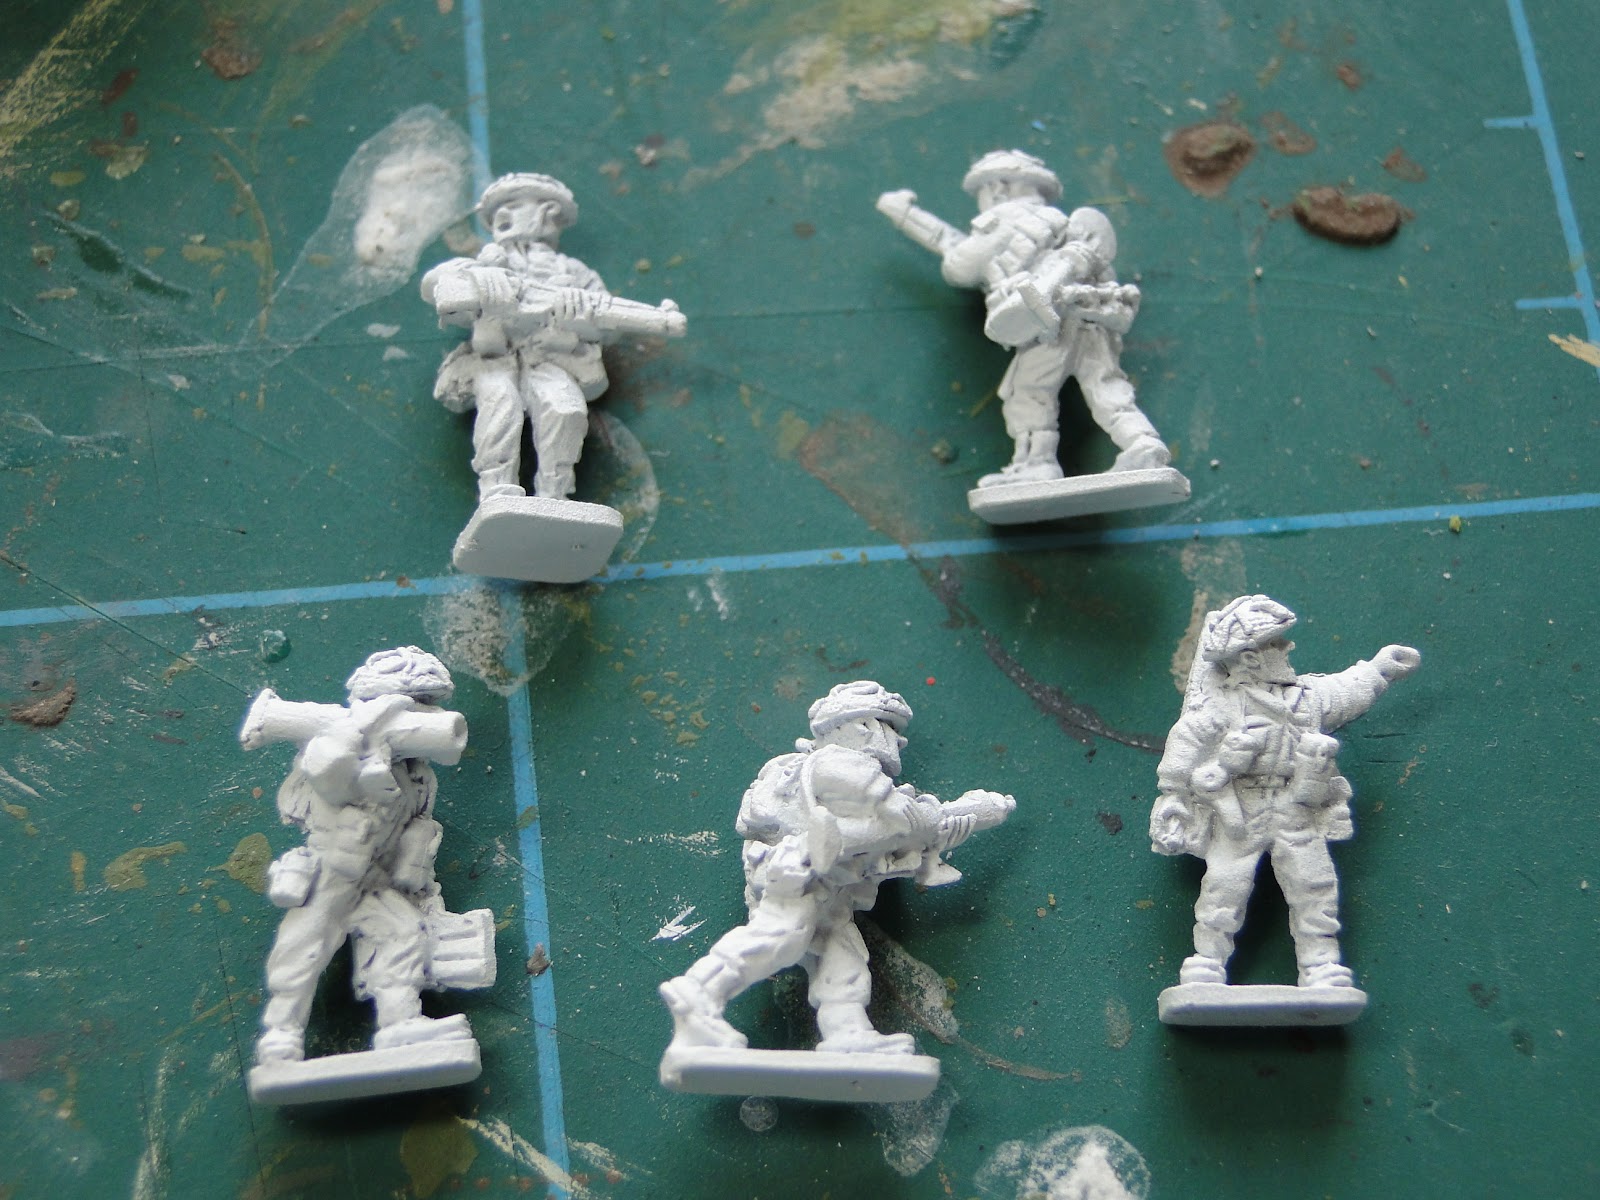
The base force of British consisted of the Platoon HQ
Maj. Dyer plus Sgt.
2 inch mortar with two crew and Piat team with two crew.
plus one Section.
After dicing for the variable attachment we added a reenforced LMG team consisting of Bren gunner and assistant plus two riflemen and an SMG.
The Paras are not classed as elite in this scenario ( this is a possible upgrade in the various attachments )
But I did give them the elite bonus on the morale set up and they are aggressive in combat.

Para Force
Team leaders became ordinary men and I put in a junior leader for each full section. Senior leaders are already specified in the force lists.

The Battlefield.
Bottom left dense wood, Centre walled house, up from there we have a light orchard on the left and field on the right, up again to the farmhouse and barn and field above that. Hedges are all bocage type.
The field on the right is a hill, it doesn't show up well in the photo. Fields are of med height and provide cover for infantry but not vehicles.
For the patrol phase of CoC I started the Germans at the top table edge and the British at the walled house.

The Germans got the 1st phase and deployed a recon team and Sgt. into the field, they were to make for the farmhouse.
The British deployed the Sgt. plus LMG team forward just short of the barn ( one of the German observation positions ).
Phase  three was interesting, the Germans roll a two 6s a 4 a 1 and a 3. With the next initiative theirs they decide on a gamble. Rushing the motorised recon team down the road.
Not a great roll, with the Hortch moving only 18 inches. Phase four however is with the Germans still. Another double 6 is rolled the Germans have taken the Paras completely off guard. The driver floors the accelerator screaming past the the British Sgt.

This is a disaster for the Paras, the audacious Germans have secured the walled house, neutralised a jump off point and at the top of the table occupied the farm house.
The Paras are now on the back foot, having to switch from being the defender to the attacker to regain lost positions is going to be difficult with such a small force. The British are mindful that the outcome of this engagement will impact on the next two.
The Germans move a section upto the farmhouse wall. The bren gun in the barn fires into the section killing two Germans and inflicting one shock. Unluckily for the Germans the junior leader takes one of the bullets and is killed outright.
 The Lt. takes charge and moves the section up the road using the cover of the bocage hedge.
 Cpl Jenkins of the Paras sees an opportunity to catch Jerry in the rear ( double 6s rolled, giving the the Brits this phase and the next ). Galvanising his section into action they leave the cover of the orchard ready to open fire into the rear of the Germans in the next phase.
In the rush forward only half the section is in a position to fire and the Bosch avoid too many casualties.
 After  one or two phases the Germans get the local initiative. First the Jerry section pours fire into the wooden barn killing two and inflicting two shock,  the German Sgt. sees his chance yelling HANDGRENATTEN !! he leads his recon team in a charge on the barn.
The Para Sgt. is concussed in the blast ( he cant be activated for the rest of the turn ). Its too much for the small force in the barn and the retreat before the Germans dragging their Sgt with them.
The German recon team in the walled house used a chain of command dice to end a turn and  finally captured the British jump off point.

Shortly after this the game ended. The Germans had achieved their victory conditions, the British knowing there were two more games in the campaign would not risk their precious forces on risky attacks.
Total British losses 3 Dead  and one Sgt wounded.
Total German losses 4 Dead and one junior leader dead.
As I said this was a small game and a precursor to two more engagements as such each side was careful to conserve their small force whilst trying to achieve their objectives.

I didn't count the phases but a total of three turns were played in about an hour and a half. I have not done a phase by phase account but rather tried to give a flavour of the game and took pictures of the significant or potentially significant events ( pictures taken with the new IPhone 5S instead of my camera ).

What next? Well the Germans with a major victory have four credits with which to adjust the die roll for variable attachments in the coming game KAMPFGRUPPE HARTMAN. Any unused credits can be held for the game after that.

Sunday, 25 August 2013

Chain of Command First Game

Chain of Command, the latest set of rules from the TFL stable are designed for WW2 skirmish actions.
Each side has a platoon plus a support element or two.
Some players dislike other TFL rules due to the use of cards which are used to decide the run of play ( a system I actually like ). This can frustrate gamers who are used to complete control over their forces. Fear not NO CARDS instead a very neat use of dice to activate your squads, teams or tanks.
I have just completed my first game after one reading of the rules and they work quite elegantly. Production values are high although the price in my opinion are not. Options include Hard copy, PDF and even a Tablet edition. Forces included within the rules British, USA, Russian and of course German all 1943 onwards. Other nations and war years will be produced in the future. If you know the Yahoo Group you will know the rules will be well supported. I believe next week German early war platoon will be posted in the files section for FREE.
The game is scenario one from the rule book, a meeting engagement. I pitched a British platoon against a German Panzer Grenadier platoon. The picture above is taken from the German side. After dicing for morale and the level of support the Germans got level two support and the British got an extra level to balance the platoons.
Each platoon is rated and the difference in rating gives the level of additional support the lower platoon can chose. So level three for the British, this can be one support from level three or one from level one and one from level two etc.
So your opponent will know the level of your support but no idea what you are going to choose.

The British choice: A universal carrier commanded by a junior nco with a bren gunner and driver.
The German choice: A 50mm mortar team.

There is a pre game scouting phase which decides where your jump off points may be positioned. These jump off points are where you will deploy your forces from during the game.
German jump off points in blue and the British in Green. This is a mini game in itself with pleny of options for tactical manoeuvre. Do you scout on a broad front or do you go for penetration or maybe try to turn a flank?

The stream has a steep bank and is rocky, lined with trees and thick undergrowth. impassable to all vehicles and heavy going for infantry. Hedges are all high and block line of site unless troops are adjacent to them.

The British plan was to use the Bren carrier to rush the bridge and neutralise or even capture one of the German jump off points. As they were closer to the stream they would seize the stream bank controlling the bridge in the process.

Well how did it play out?

The British got their Bren Carrier on early and crossed the bridge.
The Germans moved into the orchard moved up to the hedge facing the bridge.
A British section was already at the stream bank, with a devastating volley of fire broke the German section. Things were looking pretty bad for the Germans this early on.
The Carrier moved further forward but the Germans already had a Chain of Command dice ( this was on phase 3 ) and used it to ambush the carrier with their panzerschreck team. They must have been surprised by the rapid advance and completely missed the carrier.
The Germans now had to get their sections on pretty quick or risk the British advancing on their jump off points.
With a good run of dice they got their sections on.
The carrier was now hit by the panzershreck but amazingly survived the hit and pulled off the track, the crew seeking cover but they had lost the brengun.
The Germans were racking up chain of command points and this would give them an advantage later on. The platoon leader joined the broken squad in a gamble to rally them before the British could end the turn when they would be lost.
The British carrier team decided to occupy one of the German jump off points and play their CoC dice, ending the turn and thereby capturing it. The Germans would now have to check morale but they had a CoC dice in hand playing it to avoid taking the test.
The Panzer Grenadier firepower was now starting to tell on the British, who had split some of their sections into teams.
With the carrier team including the nco, killed morale dropped and when one of the German sections stormed a British Bren team commanded by the platoon sergeant killing them to a man British morale was now severely damaged. 
The British conceded defeat.

Why did the British lose after such a good start?

1: After the first exchange between squads they underestimated the firepower of the Grenadiers.
2: Their 2" mortar was deployed late in the game, this could have been used to smoke the German squads and reduce the firepower brought to bear.
3: They split a section on their left flank which the Germans concentrated their efforts on.
4: The Germans did have a good bit of luck racking up three CoC dice to use, against only one for the British.
The short sighted panzershreck team.
Platoon Sgt. and bren gun team pinned and about to be close assaulted.
Overview of the positions shortly before the end.

The rules are GREAT ! easy to pick up, realistic orders of battle and proper tactics are rewarded. This is one to one scale without micro management.
Check out the TFL Blog for some step by step AARs and the U Tube video tutorials .

Richard Clarke has a hit on his hands!


Sunday, 29 July 2012

AAR on D Day plus 2

The only change I made to the previous blog detailing the forces involved, was to add a dummy blind each turn to the German forces at entry ( a very good suggestion posted on the TFL forum apologies for not noting your name. ).
Turn 1 and the Germans get Panzer Zug 1 plus an infantry zug arriving at entry point A. The panzers are spotted immediately by the vigilant tommies. Things begin to look ominous for the Brits as the turn card pops up each deal of the deck before tea break. ( for those not familiar with IABSM, the action stops on the deal of the tea break card and the deck is shuffled, this can result in lots actions before the turn is moved on on the appearance of the end of turn card. ) The German forces arriving quickly so that the British do not get chance to take on the attackers piecemeal.

 British troops use the cover of the woods, the panzers wary of getting too close to the woods stand off electing to fire high explosive shells at the Tommies.


  Lt. Baggs sends the Piat team to the left, putting the house between the armour and themselves.
 The German company HQ machine guns moved onto the hill to put suppressing fire into the woods. Walker having spotted them calls in the battalion mortars. All those hours put in on Salisbury Plain pay off with a devistating direct hit. The rapid fire of the mortars effectively neutralise the machine guns for the rest of the game. The rest of the German forces can be seen moving through the close Normandy lanes.

 The alert British soon spot most of the German blinds.
 Corporal Quaver the 6pdr IC takes careful aim on the panzer coming up the lane. The first shot misses its target, but a second aimed shot smashes into the track of the panzer immobilising it.

 The German tank commander frantically scans the woods edge for signs of the anti tank gun. He fires his high explosive rounds but only manages to inflict some shock upon the guns crew. The high British morale  eases the situation ( An allied rally card ).
Cpl Quaver takes another shot, hitting the tank again! , he fails to destroy his target, but the veteran crew of the tank know when their luck is up and the commander orders his crew to bail out. He has learned that it is easier to replace a tank than an experienced crew.


 The German platoon commander seeing the danger to his supporting armour moves around the house with a section. A close assault results in the pita team being driven off.

 The platoon 2" mortar drops smoke in front of the Jerry tank but not before its bombardment of the woods edge severely damages one of the platoons section.
 German platoons in position waiting for the final assault on the woods.
 The German armour standing off, their supporting infantry preventing the British from leaving the cover of the woods.
 A successful German assault wipes out Cpl Quaver and his crew. A series of firefights and close combats force the British back from their positions, they also lose the platoon Piat & Mortar.
The Germans have pushed into the woods, and having the numbers on their side, Captain Jacobs reluctantly orders Lt. Baggs and Sgt Smith to pull out their men. The British conduct an orderly retreat.

Tuesday, 10 July 2012

D Day plus 2 ( a fictional scenario )

As I have forces for early war west and east and mid and late war eastern front those chaps at TFL chose to release Battle for Liberation, a handbook for the war in the west 1943 to 45. Thanks guys!

Written for their IABSM company level rules, it is set at 1:1 and is a great source of information for any company level game system using that ratio.

But the glass is always half full and this gave me an excuse to purchase some late war British from Peter Pig. Having finished them I had to put them to use, so what follows is a fictional scenario to get my British into action.


Overview

It is the morning of the 8th June, during the night the British have taken a small hill dominating the local area.

The German commander has ordered an immediate counter attack with any available forces, with orders to take back the hill before the British can dig in and reenforce it.

British Briefing

You are Captain Jacobs, you have under your command two regular platoons of 2nd Company. Last night you successfully captured this hill from Jerry. They obviously are still in a state of shock and disarray, otherwise the hill would have been better defended. Anyway their misfortune is your good luck.

As Battalion HQ considers this hill vitally important they have sent whatever assets they have available.

A 6 pounder has just arrived, along with Walker the forward observation officer from the mortar platoon. Further help will be sent as soon as possible, but congestion and local counter attacks are hindering our efforts. ( Note to Umpire, reserves will not arrive during this game. )

Capt. Jacobs Level III


Plt. 1                       Plt. 2
Lt. KP Bags Level II                       Sgt. Smith Level II
3 Sections of 8 men                       3 Sections of 8 men
Piat Team crew of 2                       Piat team crew of 2
Mortar 2” crew of 2                       Mortar 2” crew of 2

Walker FOO                       ATG 6pdr crew of 5, Carrier as tow.
Mortars 3”  x 6 off board


German Briefing

The Tommies captured the hill last night. It is is imperative that we regain it’s possession before they can stabilize their positions. You have a full company of veterans and the support of two panzer platoons. The enemy has less than a company and no armoured support. You will need to strike quickly before they can reenforce their position.
Looking north toward the hill. Road A is top left of picture, road B centre left, and road C bottom of picture.


The German player should be informed of the following just before the game begins.

Unfortunately due to the need to rush the armour into position, breakdowns and the RAF have reduced Zug 1 to two PzIVs and Zug 2 to only one PzIV. However the attack must go ahead as planned.
Your six platoons will arrive two each turn in turns one to three ( they will be randomly diced for, or if you want an easier game for the German player let him choose ). Each platoons arrival point  must be diced for separately and will be, road A on a 1 or 2, road B on 3 or 4 and road C on a 5 or 6.
All this confusion represents the difficulties the Germans had in coordinating their counter attacks just after D Day.

Co HQ                                  Pz Zug 1
BM Level III                          BM Level II
BM Level II                          PzIV x 2 morale 4
MG42 tripod x 2 five crew each.

Zug 1 to 3                          Pz Zug 2
BM Level II                          PzIV x 1 Morale 4
3 Sections of 8 men


The game has yet to start so the AAR will be up in in couple of weeks.